When I think about the process of making flour, I imagine vast fields of grain, and peasant with sunburned necks. They are sweaty, thirsty, and it doesn’t look like a whole lot of fun. Fortunately, making chestnut flour is WAY easier than harvesting wheat, then winnowing and milling the grain. Chestnut flour is also very tasty, and gluten free (in case you were wondering).
About the Chestnut
Historically, chestnuts have been a food source in many cultures. Native North Americans ate fresh chestnuts as vegetables, and used dried chestnuts for flour. The American chestnut tree was a common hardwood on this continent before the chestnut blight pretty much wiped it out.
In Europe the nut was also used fresh and dried, but there the flour was considered famine food. Not because of the flavor (it’s naturally sweet and delicious) but because it doesn’t rise on its own. Remember I told you it was gluten free? Well, it’s the gluten in flour that both binds the baked good together and allows it to rise.
Since gluten free chestnut flour won’t rise on its own, you have two options. You can use it alone in baked goods that don’t require rising, like pasta, pancakes,or polenta, or you can substitute it for up to 50% of wheat flour in recipes that require rising. Chestnut flour adds a sweet nuttiness to baked goods, like this chestnut pound cake.
The nutritional composition of chestnuts is very different from most tree nuts. They have no cholesterol, are low in fats, and high in carbohydrates. Chestnuts have been called the “grain that grows on trees” because their nutritional profile more closely resembles that of most grains. Oh, but it’s so much easier to turn your chestnut harvest into a tasty flour than it is to grab your scythe and head out to the wheat field.
How to Make Chestnut Flour
When I gather chestnuts I leave the very spiky shells in the woods, and bring home only the inner kernels. I suggest you do the same, as those shells can hurt! Use gloves to peel back the opening of the spiky husk, or press it open with your well-shod foot, then gently reach in and remove the nut.
Preheat your oven to 400F.
Use a serrated knife to mark an X on the flat side of each chestnut, then lay the nuts out on a cookie sheet, X side facing up. Scoring the nut (by making the X) allows moisture to escape from the nut while it’s roasting. If you skip this step you’ll be reminded of its importance by multiple explosions coming from inside your oven.
Roast the nuts for 25 minutes, then remove them from the oven. As soon as they’re cool enough to handle, peel off the inner shells. This will be easy while the nuts are warm, and gets progressively more difficult as they cool. When it gets too hard, zap the nuts in the microwave for 15 seconds to warm them up and make the skins flexible and easy to peel.
Peeled chestnuts can be dried whole, or cut in half to speed the process. Spread them on dehydrator sheets and dry them at 105 F for 12 – 24 hours, or until they are so hard you can’t break them with your fingers. If you don’t have a dehydrator, dry them in a warming drawer, or in your oven on the lowest possible setting.
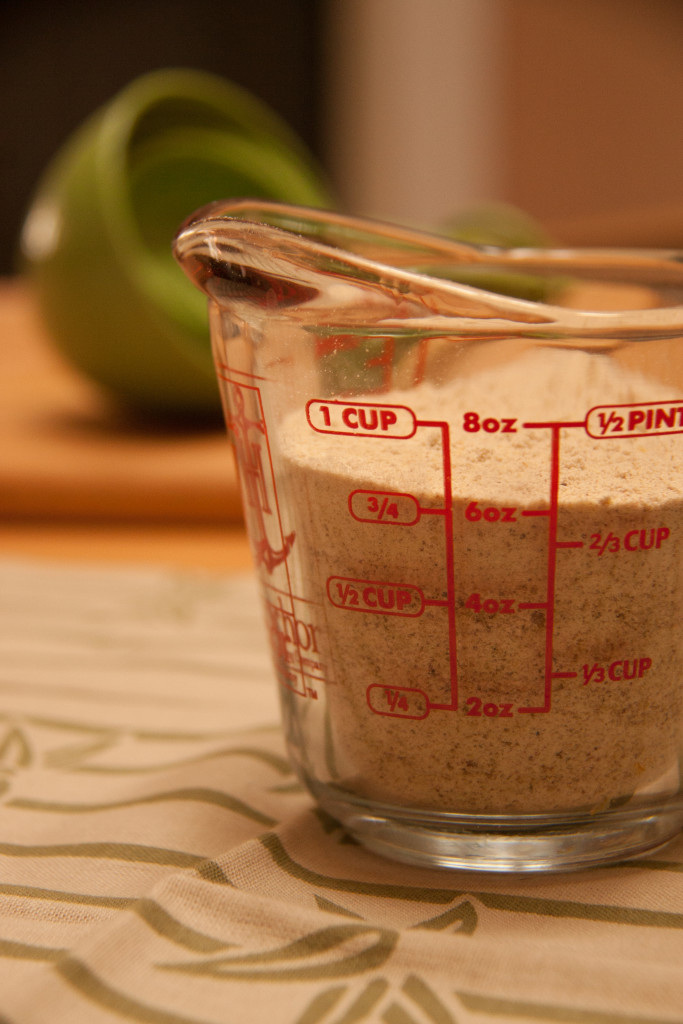
Keep your dried chestnuts whole, in a tightly closed jar, until you plan to use them. They’ll keep longer this way, with less surface area exposed to the air. You can grind your chestnuts in a blender (I use the dry grains canister of my Vitamix) or in a spice grinder or coffee bean grinder. Grind them to the fineness required by whatever you’re making, a coarse, cornmeal-like texture if you’re making polenta, or a fine grind if you’d like to try this Chestnut Pound Cake.
Chestnut flour will keep for up to six months in the refrigerator or freezer.

Thank You!